Sunday, January 29, 2017

Some of my favorite pussycat pictures.........


Matilda and her deer friend......

Matilda and Theor


Matilda having a kip.....


Matilda


Bertie at the pub

Bertie and Fifi


Matilda and Theo


What shall I write today?


Beetlewood

Just been on a super hike along the banks of Cherry Creek in nearby Castlewood Canyon, and found some great pieces of beetlewood. 


Saturday, January 28, 2017

The cottonwood star - super classroom community-building activity


Way back in 1970, as part of our work at The Mountain View Center for Environmental Education, 
David Hawkins, Elwyn Richardson, and I spent a lot of time at 
Wounded Knee, 
the Ogllala Sioux Reservation in Manderson, South Dakota.


Elwyn showing David a fossil he'd just spotted lying in the crusty earth in The Badlands.

Late one afternoon, after a fossil hunting hike in The Badlands with my friends, Pat Pumpkin Seed and Rog Red Elk, we sat and rested in the shade of a cottonwood tree.


Pat and Rog showed me a handful of dried cottonwood twigs 
they'd picked up under the tree.

"These are home to the stars, John Paull," said Pumpkin Seed, 
as he broke one of the twigs in half, then held up both pieces to the sky above.

Curious, I wanted to know more. 

In his deep, hoarse voice, Rog shared the beautiful story 
and ritual of the cottonwood tree star with me.

It blew me away. 

Here's the story.


Enjoy.

The Secret of the Star…..

'My ancestors,' he said,  'believed all things
come from Mother Earth.

 They believed that stars form in the earth and, when ready,
 search for the roots of the magical cottonwood trees.

The tiny stars  finally come to rest in the small twigs
at the end of the cottonwood branches.

Here, they wait.................until they are needed.

When the Spirit of the Night Sky decides that she needs 
more twinkling, beautiful stars, 
she calls on
the Wind Spirit to shake all the cottonwood trees.

The Wind Spirit blows and blows, and, 
as the cottonwood twigs break off, 
the twinkling stars are released 
and race up to a special place in the Night Sky.

So, If YOU, John Paull,  want to add a new star to the night sky, 
find some cottonwood twigs, 
wait for a clear night, 
and hold up your twigs to the sky –

and SNAP!'  


'Then, look up into the night sky again.

Can you see YOUR star twinkling?

Imagine.........

You have added a beautiful new star to the
                    kingdom of the night sky......'

"See?" said Pat, showing me a star hidden in the broken twig.
"Do it, John Paull, and dedicate your star to someone you love."


I searched around the base of a cottonwood tree and collected some dried twigs.
I broke one at the growth ring that circled the 
middle of the twig.
I stared at each end.........

And, hey, there, amazingly, it was  - a beautiful, 

perfect little star.........

"THAT star has been resting there, waiting you to release it." said Rog.
"YOU have just added a new star to the sky above.

Give the star a name..........someone who's dear to you"

My first star, which still shines up there every night, 

I dedicated to my Mum.

Bless her.


I have collected and used cottonwood twigs as a community -building ritual with students of all ages ever since, 
releasing countless beautiful stars to the night sky.

Kids love it!
Try it - all you need are some dead cottonwood twigs.
Then, look at the night sky.............


John Steinbeck: On Teaching......

                                         On teaching.....

As I was putting together a collection of cottonwood twigs to share at a forthcoming workshop (you know, I break open the twig at a circular growth point and expose the beautiful hidden star) when John Steinbeck crept into my mind.

So, I checked my journal and reread one of his quotes about teaching I'd written down long ago:

'I have come to believe that a great teacher is a great artist and that there are few as there are any other great artists.

It might even be the greatest of all the arts since the medium is the human mind and spirit.'

                                                 Brilliant!! Right on the button!!


Oh, yes, here's Steinbeck's 


Like Captured Fireflies

'In her classroom our speculations ranged the world.
She aroused us to book waving discussions.


Every morning we came to her carrying new truths, new facts, new ideas cupped and sheltered in our hands like captured fireflies.


When she went away a sadness came over us,
but the light did not go out.


She left her signature upon us,
the literature of the teacher who writes on students’ minds.


I’ve had so many teachers who taught soon forgotten things but only one like her who created in me a new thing, a new attitude, a new hunger.


I suppose that to a large extent I am the unsigned manuscript of that teacher.
                      
What deathless power lies in the hands of such a person. '       


Friday, January 27, 2017

Hey, teachers, young scientists, here's a great science experiment to celebrate President Lincoln's birthday, February 12th.

February 12th. 1809


Clean up President Lincoln pennies for his birthday!

This is a fun experiment! You can clean old and dirty Lincoln pennies on President Lincoln's birthday, make the coins sparkle,  and explore some of the properties of metals!

Good, yes?


Pennies get dull over time and look green because the copper in the pennies slowly reacts with air to form copper oxide. Pure copper metal is bright and shiny, but the oxide is dull and greenish.


When you place the pennies in the salt and vinegar solution, the acetic acid from the vinegar dissolves the copper oxide, leaving behind shiny clean pennies.


You need:

  • Dirty Lincoln pennies
  • 1/4 cup white vinegar (dilute acetic acid) and 1 teaspoon salt (NaCl)
  • 1 shallow plastic bowl
  • Water and paper towels


This is what you do:

  1. Pour the salt and vinegar into the bowl and stir until the salt dissolves.
  2. Dip a penny halfway into the liquid and hold it there for 10-20 seconds. Remove the penny from the liquid. What do you see?
  3. Place the rest of the pennies into the liquid.
  4. What happens?
  5. Leave the pennies in the liquid for 5 minutes.
  6. After 5 minutes, take half of the pennies out of the liquid and place them on a paper towel to dry. 
  7. Remove the rest of the pennies and rinse them well under the tap.
  8. Place these pennies on a second paper towel to dry. 
  9. Wait an hour then take a look at the pennies you have placed on the paper towels. (Write labels on your paper towels so you will know which towel has the rinsed pennies.)
  • Rinsing the pennies with water stops the reaction between the salt/vinegar and the pennies.
  • They will slowly turn dull again over time, but not quickly enough for you to watch!
  • The salt/vinegar residue on the unrinsed pennies causes a reaction between the copper and the oxygen in the air.
  • The resulting blue-green copper oxide is commonly called 'verdigris'.


NOTE: Use only dirty one cent pennies, not  old, valuable coins. THEY SHOULD NOT BE CLEANED!!!!!!!!
They lose their value to collectors if you do!

Recommended books on teaching.............

           Recommended books on teaching


For those of you interested in the teaching and learning processes, I’d recommend checking and flicking through some of the following books which describe what happens when teachers have ownership of what and how they teach……….something that has disappeared as teachers are more and more now told HOW and WHAT to teach by those who have little or no experience of what is required to create a community of enthusiastic learners….


Here’s my  list, in no particular order:


  • The Integrated Day……… Norman Precious and Mary Brown
  • The Informed Vision…….. David Hawkins
  • What to look for in a classroom…………...Alfie Kohn
  • The schools our children deserve………...Alfie Kohn
  • In the Early World………...Elwyn Richardson
  • Open Education and the American school…………..Roland Barth
  • Schools where children learn………..Roland Barth
  • Improving schools from within…….Roland Barth
  • How children fail…………..John Holt
  • How children learn………...John Holt
  • Few adults crawl. …………Tony Kallet
  • Crisis in the classroom……..Charles Silberman
  • The ESS reader
  • Curriculum Integration……..James Beane
  • Starting From Scratch…...Steven Levy
  • What Every Middle School Teacher Should Know… David Brown and Trudy Knowles
  • Science Workshop………...Wendy Saul
  • Curious Minds………………..John Breckman
  • The Unschooled Mind……….Howard Gardner
  • Sharing nature with children…….Joseph Cornell
  • Last Child in the Woods………….Richard Louv

Collecting MOONDUST! One of my favorite science/community-building activities.........

Image
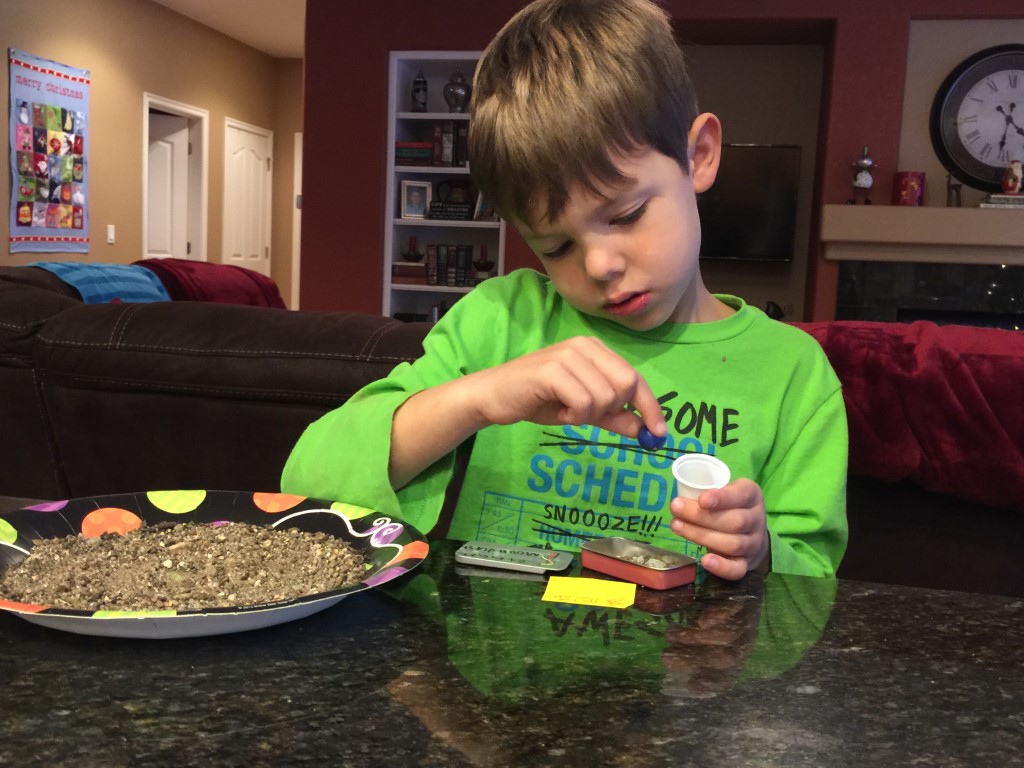
Collecting moondust!!


A couple of years ago, when listening to Morning Edition on NPR, my attention was caught when an interview focused on the previous night’s meteor shower over Colorado.

Apparently, after such a shower, one can find magnetic meteorite dust by sweeping the ground with a magnet. That gave me an idea…………..


A meteor shower, incidentally, is the result of an interaction between Earth and streams of debris from a comet. Each time a comet swings by the sun in its orbit, some of its ice vaporizes and a certain amount of meteoroids (iron based, so magnetic) are shed. The meteoroids  spread out along the entire orbit of the comet to form a meteoroid stream also known as a dust trail, and eventually fall to the earth below, waiting to be collected by young scientists.


So, soil collected on a walk might contain some iron particles which I call ‘moondust’ and can be discovered by using a magnet.


What you need:  

  • A soil sample, ideally from the banks of a nearby stream
  • A magnet
  • A small container to hold the magnet
  • A tin
  • A magnifying glass


What you do:


Spread out the soil on a small tray. Then, slowly move the magnet in the container over the soil. If there’s any meteoroids in the earth, they will stick to the bottom of the container.

Hold the container over the empty tin and remove the magnet.

The moon dust will fall inside the bottom of the tin.

******* Don’t forget to label the tin and date it - and, hey, you have a Pocket Museum filled with MOONDUST!!

Capture those MOMENTS!!

Showing my wishing rock at a recent workshop....
THOSE
MAGICAL  CLASSROOM MOMENTS!
 Why don’t you  CAPTURE them!!
And save them – forever!


Hey, teachers, you can, and probably do, of course, use your smartphone as well as your camera to capture those special classroom teaching and learning moments……… videoing, photographing, recording the action.


If you enjoy catching those moments that make your teaching so rewarding and worthwhile, you might try this idea I came up with many years ago.


From my teaching journal........

After a wonderful but windy afternoon nature walk around the woodland near school, my class sat around me on the classroom floor and we  began to talk about what they’d seen.

Dianne said how much she enjoyed the walk in the long grass around the trees.
“Everything was beautiful, Mr. Paull……………. Everything smelled dead good. Did you hear the wind, though? It was making a howling noise and it made the leaves on the trees shake.”

Then she added, wistfully, “Pity we can’t bring back the smells and the sounds of nature. How could we do that, Mr. Paull?”


That made me think. And think. Mmmmmmmmm…………….


Then, that evening,  I had an idea. An empty bottle isn’t really empty, of course. It holds air. So, if you half fill, say, a small plastic bottle with water and then turn the bottle upside down, the water rushes out, pushing the air in front of it. For a split second, there’s nothing in the bottle. As we know, nature abhors a vacuum, so the air rushes in and fills the bottle.


The air carries everything ……….doesn’t it?


The next time we went for a nature walk, I took a bottle half filled with water. When we reached the tall grass and trees, I turned the bottle upside down and let the water gush out. As soon as the last drop ran out of the bottle, air rushed in, filling the vacuum.
IMG_1470.JPG

I immediately pushed in the cork. “Look,” I said, “we have captured the sounds and the smells of nature………forever.”  

Dianne was particularly excited when I stuck a label on the bottle and wrote the date on it:
June 8 th. 1966.
This bottle holds the smells and sounds of the flowers and the trees around our school.

And that started something.


Every time things were really humming in the classroom, I would stand in the middle of the room holding a small dish and a bottle half filled with water. Then, with great ceremony, I held the bottle over the dish and emptied out the water. Within a second, I filled a small bottle with all of the energy, sound, wit and wisdom of my children, and screwed on the top. Quickly I labeled it, and displayed it on a shelf.


My students loved the process and would often tell me, “Hey, Mr. Paull, you just HAVE to capture what’s going on on my table!!”


I used them at parent conferences, showing parents the bottles, then describing that each one was filled with a magical classroom moment of excitement, interaction, and learning.


Why don’t you try it – go on, capture one of those special ‘I’m a scientist’ moments today in a bottle!!


IMG_0419.JPGHOW? It’s easy.


What do you need? Just a small bottle and plenty of imagination!!


What do you do? At a critical ‘Oooh, aaah’ classroom moment, take the top off a tiny bottle. Blow across the top.


The fast-moving air sucks out the air inside the bottle. When you stop blowing, the air, and the atmosphere of excited learning, rushes in and fills up the space.


Write the date and place on a small label and stick it on the bottle.


Think about what you’ve done!

You have captured the time - and the magic classroom moment, the joy of your students……forever!  :)
                                                                             
P.S.        Students particularly enjoy this activity, and i encourage them to do the same…..bring in a small bottle and capture those learning moments they cherish………..and share with their classmates at an appropriate time.

John Paull